
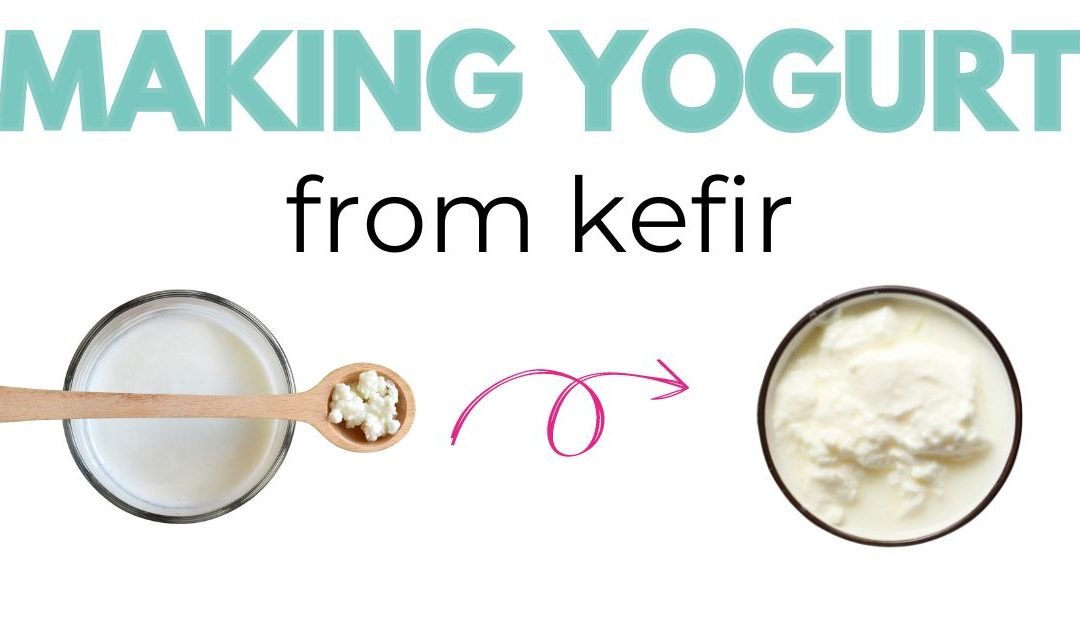
You can make yogurt from store-bought kefir right at home using a pressure cooker that has a yogurt function. You can also make yogurt at home with your stovetop or yogurt machine.
Table of Contents
This article and post were developed through a sponsored collaboration with National Dairy Council.
This recipe is mostly hands off, but it does require a good amount of time. Taking your milk to the proper temperature is fairly short, but the fermentation process can take anywhere from 8-12 hours.
Why Make Your Own Yogurt from Kefir
Homemade yogurt is actually much easier to make than you might think. A very helpful resource that goes deeper into the science of making yogurt is this guide from Washington State University Extension.
Most homemade yogurt recipes call for a small amount of yogurt as the starter but what if you don’t have any on hand? That is where kefir can come in handy.
Kefir is a great yogurt starter because you can make a tart but sweet yogurt while still having enough kefir leftover to use for other recipes like smoothies, ice cream, or a creamy salad dressing.
How to Make Your Yogurt
Some things to consider when making your homemade yogurt from kefir:.
How to Use Kefir as Your Yogurt Starter
To make your own yogurt you need a starter, something that will introduce the good bacteria to your yogurt. Many recipes call for fresh yogurt but you can use kefir instead.
Kefir is similar to yogurt. It’s a fermented dairy product, but kefir has a drinkable consistency and there are a variety of bacteria strains that are different from yogurt.
Your best bet is to use a fresh, store-bought kefir so that you can ensure viable bacteria for your yogurt starter. You can choose any milk fat percentage for your kefir because that doesn’t impact the live and active cultures in the kefir.
Time Needed to Make Yogurt
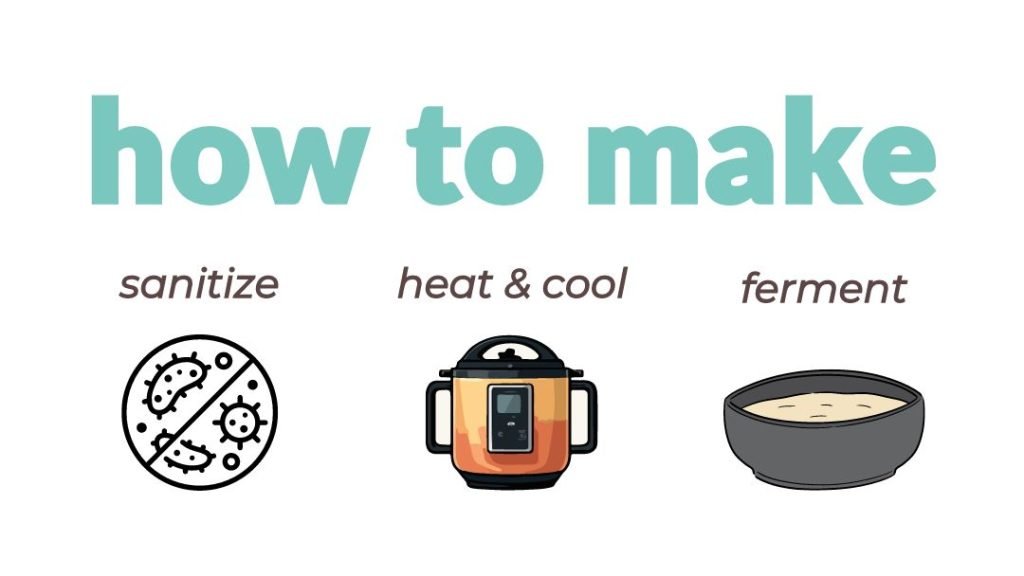
There are three time periods you want to be mindful of: heating the milk, cooling the milk, and the fermentation time.
Sanitizing
To prevent the growth of unwanted bacteria you will want to sanitize the pressure cooker container that you will be making the yogurt in, using the steam function button.
Heating the milk
Heating the milk helps the consistency of yogurt and will prevent the growth of any unwanted bacteria.
Cooling the milk
If your milk is too hot, you’ll deactivate the bacteria in your kefir starter. This is why you’ll need to take some time for the milk to be brought down to 110°F.
You can cool down your milk quicker by putting the pressure cooker container in an ice bath. Be very careful to dry it off before placing it back into the heating element.
Fermenting the yogurt
The fermentation time period is what takes the longest but how long you ferment it is a preference. The shortest amount of time you might ferment is 8 hours but you can ferment it for up to 12 hours.
How long you ferment the yogurt will change the flavor. A longer fermented yogurt will have more of a tart flavor and a shorter fermentation will be a bit sweeter.
Making a Thicker Yogurt
A milk with a higher fat percentage will lead to a thicker yogurt. From whole milk to skim milk, milk offers 13 essential nutrients no matter which you choose. All fat varieties will have high-quality protein, vitamin D (a nutrient not easily found in most foods), and vitamin B12.
You can also strain your yogurt using a cheesecloth, a fine mesh strainer, or a yogurt strainer to make it thicker no matter which milk fat percentage you choose. This yogurt will be thinner, and you can strain it anywhere from a couple hours to 24 hours.
Equipment Needed
This recipe uses a pressure cooker that has a yogurt function. You can also make yogurt at home with your stovetop or with a yogurt machine.
If you want to make your yogurt thicker you will need cheesecloth, or a fine mesh strainer, or you can also get a yogurt strainer.

FAQs
What milk is the best to use for making yogurt?
The best milk depends on your desired level of creaminess and your personal preferences. Whole milk will give you a thicker yogurt but any milk (whole, 2%, or skim) can be used to make yogurt.
Do kefir and yogurt have lactose?
While they are not completely free of lactose, kefir and yogurt are wonderful options for people who are lactose intolerant because they are lower in lactose. A cup of milk has 12 grams of lactose but a cup serving of Greek yogurt will have 6.5 grams of lactose. Additionally, the live and active cultures in both kefir and yogurt may help people better digest the lactose.
If you are looking for a lactose-free version you can use a lactose-free milk as your base and a lactose-free kefir as your starter.
What is kefir?
Kefir is a fermented milk product that has a similar nutrition profile to yogurt and they both have live and active cultures. Both kefir and yogurt can sometimes be considered a probiotic food, but it depends on the type of bacteria strains that are used to ferment the yogurt or kefir.
How long does homemade yogurt last?
If stored in the refrigerator, yogurt can last for 1-2 weeks.
Can you flavor the yogurt?
Yes, there are a couple ways to flavor yogurt.
- Blend fruit into the finished yogurt: You can use fresh or frozen berries and add them to your blender along with your yogurt to give it a new flavor.
- Swirl in chia jam: Chia jam is very easy to make and is the perfect complement to plain yogurt or even ice cream.
Yogurt Recipe (made from kefir)
Ingredients
- 1 half-gallon of milk (whole or 2%, see note)
- ½ cup plain kefir
Instructions
Sanitize the pressure cooker
- Sanitize your pressure cooker by adding 1 cup of water to the inner pot and then close the lid and set the valve to sealing. Press the steam button and set it for 8 minutes. Once the steam cycle is complete you can let the pressure release naturally. Alternatively, after a few minutes you can do a quick release.
Boil & Cool the Milk
- After the pressure has been released, empty the water in the pot. Add the milk and close the lid. Use the boil function for making yogurt on your pressure cooker.
- Once the boil cycle is complete check the temperature of your milk to see if it’s reached 180°F. If it hasn’t reached that temperature, you can press the sauté button and adjust heat to low; continue to heat the milk and check the temperature often.
- Once the temperature of 180°F has been reached, let the milk cool to 108°F-110°F. You can let it cool by letting the inner pot rest on a wire cooling rack (this will take about an hour) or you can place the inner pot in an ice bath. If you place it in an ice bath, it will cool very quickly; check the temperature after 5-10 minutes.
- After cooling, remove any skin that has formed on the milk and discard. Place the inner pot back into the pressure cooker (make sure the inner pot is dry).
Fermentation
- Take 1 cup of the cooled milk and add the kefir; stir. Add the kefir mixture to the rest of the milk and stir.
- Press the yogurt button until you see the yogurt function on the screen. Set the fermentation time for 8 hours.
Strain the Yogurt
- Once the fermentation is complete you can place the yogurt into a strainer lined with a cheesecloth. Alternatively, you can place the yogurt inside a yogurt strainer.
- Strain the yogurt for 3 -24 hours inside of the fridge. The longer you strain it, the thicker the yogurt will get.
Notes
- Since this yogurt tends to be thinner, I recommend using whole or 2% milk.
- Refer to your pressure cooker’s manual for information specific to your model.
- The liquid that comes from straining the yogurt is whey and can be used for smoothies.

Amanda is a pizza loving registered dietitian nutritionist specializing in mindfulness and gut health. She quickly realized that gut health goes beyond the gut; it is also about honoring our gut feelings. She is the creator of The Mindful Gut™ which uses science and strategy to help people improve their gut health.
